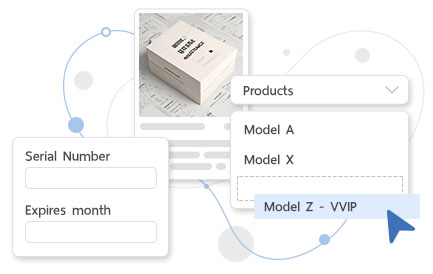
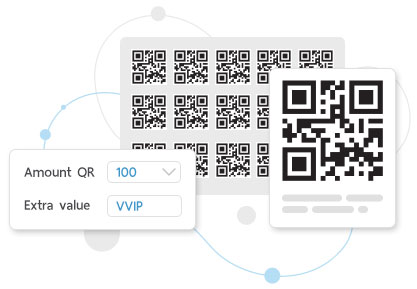
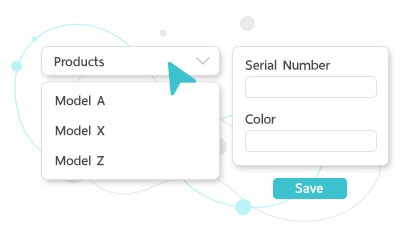
Steps for using your warranty platform is crucial for user onboarding and engagement.

Insert Products and Set Warranty Expiry Date
• Log in to your [Your Company Name] account.
• Navigate to the "Product Management" or similar section.
• Click "Add New Product" or a similar option.
• Fill in product details, including name, serial number, and purchase date.
• Set the warranty expiry date for each product.
• Click "Save" or "Submit" to add the product to your warranty portfolio.

Create QR Code or Shareable Link
• After adding a product, go to the "Product Details" page.
• Look for an option to "Generate QR Code" or "Create Shareable Link."
• Choose the preferred option:
- Generate QR Code: Download the QR code for printing or attaching to the product.
- Create Shareable Link: Get a link that can be shared with customers or embedded on your website.

Test Submitting a Warranty Claim
• Access the "Warranty Claim" section.
• Select a product you've added.
• Fill out the warranty claim form with test data.
• Attach any necessary documents or images.
• Click "Submit Claim" to test the submission process.
Update Theme for Warranty Form
• Go to the "Theme Settings" or similar section.
• Choose a theme that matches your website's design.
• Customize colors, fonts, and styles to align with your branding.
• Preview the changes to ensure they match your website's theme.
• Click "Save Theme" to apply the updates.
By following these steps, users will be able to efficiently use your platform to manage their warranty information,
create QR codes or links for warranty registration, customize the warranty form, test the submission process, and align the form's theme with their website. Make sure to provide clear instructions, tooltips, and support options throughout the platform to assist users at each step.